Robert Heller
September 3, 1999 (DRAFT)
Updated: November 5, 1999 (DRAFT)
Updated: January 14, 2000 (DRAFT)
Updated: July 20, 2000 (Final-DRAFT)
Abstract
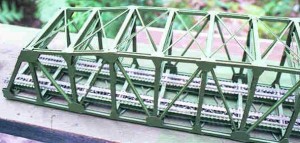
This article describes how I built a large H0 scale thru-truss double-track bridge to span over a 4′ window. The bridge is a Warren Truss that is 400 scale feet long and it is made entirely out of styreen structure shapes.
Now available as a downloadable file you can print: PDF Format (gziped) or PostScript Format (gziped).
Introduction
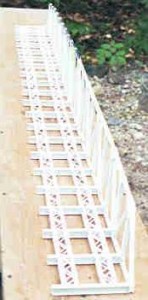
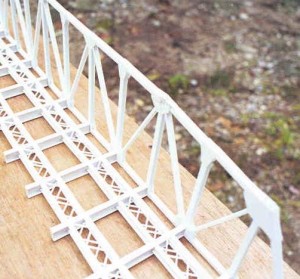
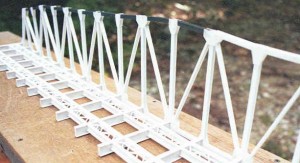
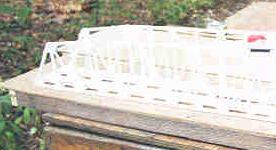
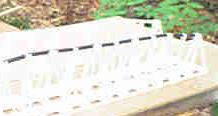
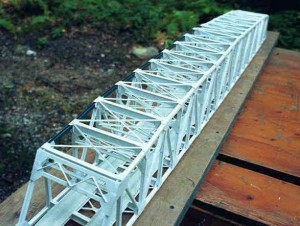
I am in the process of working on a large H0 layout. Unfortunately, I don’t have room for a conventional table-top level layout. Instead I will be building my layout about a foot or so below my ceiling, with much of the layout going along the walls as a narrow shelf type layout. At one point along the wall, I have a 4′ wide window. I did not want to put support woodwork in front of the window, so I need to deal with a 4′ clear span — Aha! What a great place for a bridge. So I set about designing and building a long bridge. Shown below.
Bridge Design
I designed a 20 panel Warren Truss bridge. To help figure the angles, spacings, and other measurements, I wrote a Tcl/Tk script to help me. This script is available for download as Bridge.tcl.gz.
Floor Construction
Jig
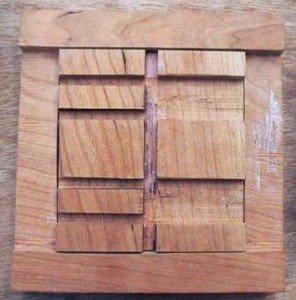
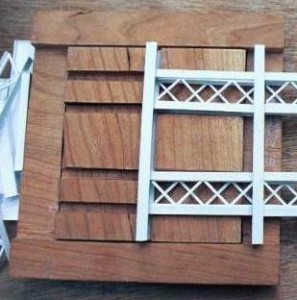
To help build the floor, I had a local carpenter friend make a jig to help keep the floor stringers aligned and properly positioned while gluing them to the floor beams. Shown below.
Floor Panel Parts
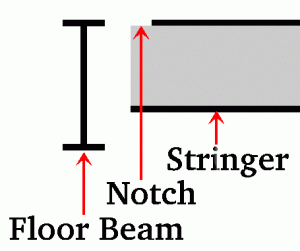
Each floor panel consists of a pair of floor beams (54" I beams (5/8" styreen I beams in H0 scale)), 4 stringers (38" I beams (7/16" styreen I beams in H0 scale), and 4 pieces of bracing angles — I used 3/4" molded styreen Warren Truss’s. Each Floor beam as a pair of 3" (1/32" in H0 scale) angles attached to the webs at the ends to form a wider mounting area. The stringers also have 3" angles at the ends, as well as a 3" seat angle. The stringers are also notched to allow for the floor beam flanges, as shown below.
Step-By-Step Floor Panel Construction
- First the last completed panel is placed in the jig as shown below.
- Then the four stringers are glued on using the channels in the jig. The stringer notches go on the bottom (the bridge floor is built upside down). A small rubber band is used to secure and clamp the pieces until the glue dries as shown below.
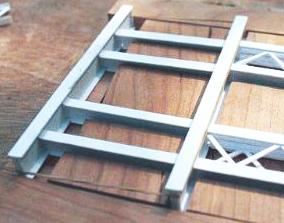
Floor, Step 2, view a
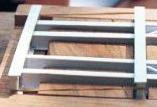
Floor, Step 2, view b
- While the glue on the stringers dries, the stringer braces are prepared. The braces are formed from Plastruct’s 3/4" styreen Warren Truss elements. These are molded as large, open I beams. They need to be converted to something like a large channel by cutting off the flanges on one side as shown below. Then they need a slight length trim. I used a razor saw to cut sections at 1-1/2 `cycle’ intervals, cutting in the center of the `V’, but this length is about 3/16" too long to fit between the 3" stringer mounting angles (and between the flanges of the pair of floor beams). I trimmed about 3/32" off each end of the trusses, as shown below.

Floor, Step 3: triming truss flanges

Floor, Step 3: sanding knife cuts

Floor, Step 3: triming ends of trusses
- Once the stringer braces have been prepared they can be installed. First the "top" braces are dropped into place, then the "bottom" braces are popped in. I used aligator clips to clamp the bottom braces (letting gravity hold the top braces in place as the glue dried, as shown below.
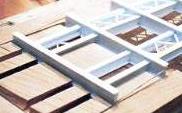
Floor, Step 4: dropping the first top brace in place
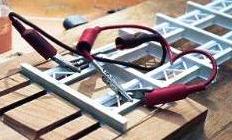
Floor, Step 4: clamping the bottom braces
Mostly Completed Floor
The floor with 16 of 20 panels completed is shown below.
Side Truss Construction
Jig
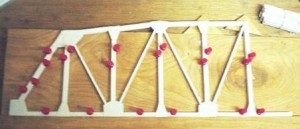
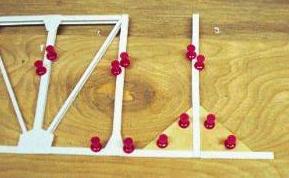
The side construction jig is just two long pieces of 1/4" plywood, one wide and one narrow, glued one on top of the other. This forms a long, straight "curb" to build the side section. Also needed are a pair of small right, 45 degree triangles, about 1-1/2" to 2" on a side, with a pair of small holes (to clear push pins) in each. Side construction also requires a good supply of push pins.
Side Truss Parts and Materials
The sides are made with 21" H columns for the vertical and horizontal runs (1/4" in H0) and 21" I beams (1/4" in H0) for the diagonal braces. Plus a supply of 1" (.01" in H0) sheet for gussets.
Side Truss Construction
The side trusses are built in a similar step and repeat fashion as the floor. Each major step builds two panels. Starting with a completed panel step as shown below.
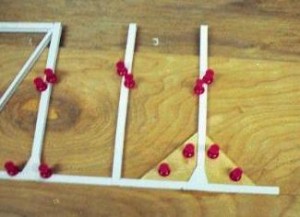
- First a column is added. The small triangles are used to make sure the column is plumb. Push pins are used to hold the pieces in place. This is shown below.
- Now the second column is added. A non-brace type gussett is used to secure it, as shown below.
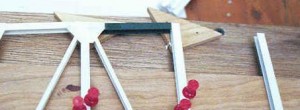
- One diagonal brace and one top beam is added and secured with a top brace type gussett, as shown below.
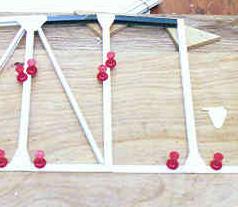
- Now the second top beam is added, secured with a top non-brace type top gussett, as shown below.
- Finally, the second diagonal brace is added and secured with a bottom brace type gussett, as shown at the beginning of this sub-section.
Assembly of the side trusses and the floor
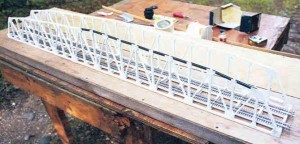
The side trusses are glued to the side of the floor as shown in the photographs below.
And the second side truss:
Laying the track
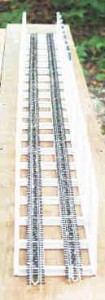
The next step is laying the track. I used normal code 83 flextrack, which I stiffened using CA on selected tie-rail points and to which I added guard rails made from code 70 rails. I contact cemented the track sections to the bridge floor as shown below.
Top Bracing
Next, the top bracing is installed.
Portal braces
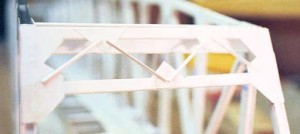
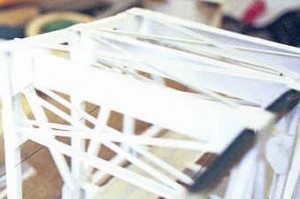
The portal bracing uses channels and small T braces, as shown below.
Top beams and bracing
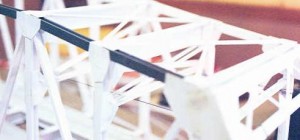
The rest of the top bracing and beam assembly is shown below. Note the use of a thread to ensure level placement of the cross channels.
Completed Bridge
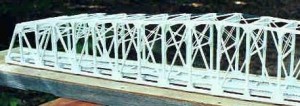
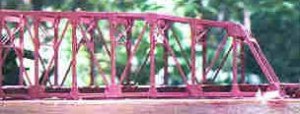
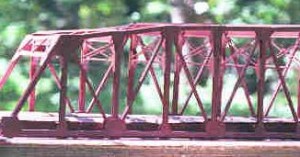
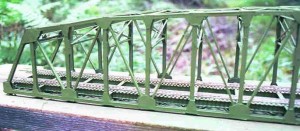
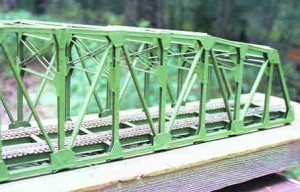
The completed bridge is shown below:
Bottom coat: "Rust Layer"
The bridge with its first coat of paint (Rust) is shown below:
Top coat: "ugly" green (Green Zinc Chromate)
The bridge with its second coat of paint (Green Zinc Chromate) is shown below:


